Step 2 - Render the car and headlights
In this step you create the render passes and materials you need to render the car and the headlights separately.
In the next steps you create the bloom effect and apply it only to the headlights.
Render the scene
In this section you create the render passes to render the entire scene.
To render the scene:
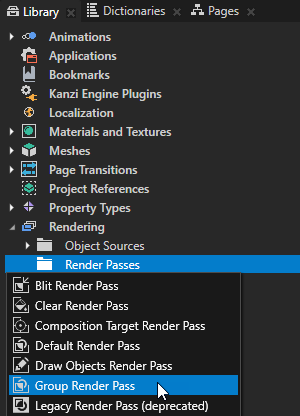
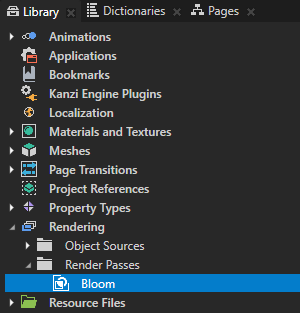
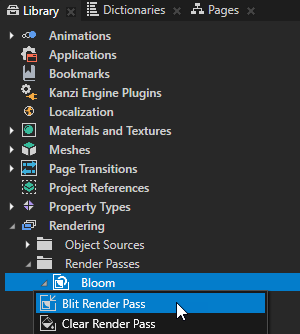
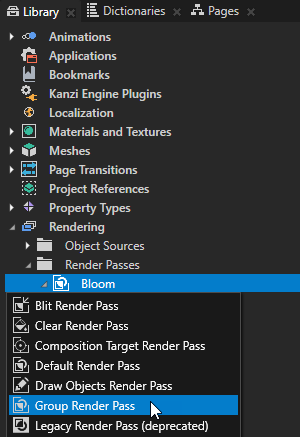
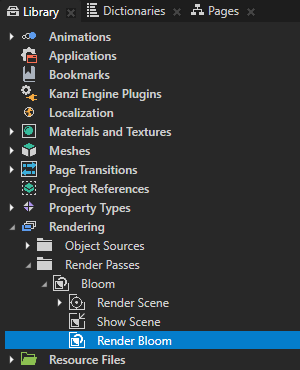
- In the Library > Rendering press Alt and right-click Render Passes, select Group Render Pass, and name it Bloom.
You use a Group Render Pass to gather several render passes you create in this procedure which, when combined, render the car and apply the bloom effect to the headlights.
By using a Group Render Pass you can apply an effect to a Scene or Viewport node.


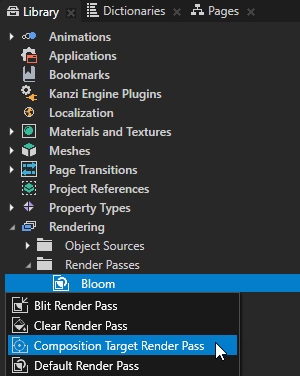
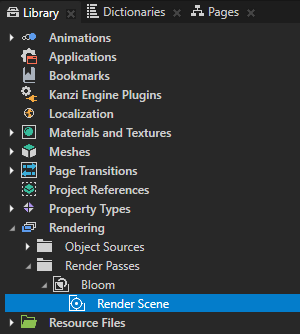
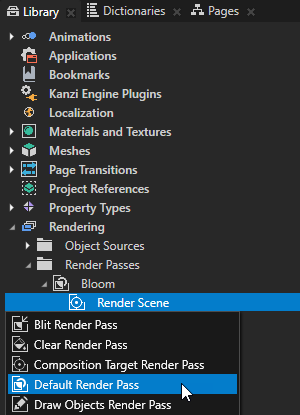
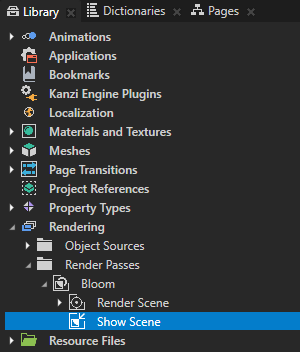
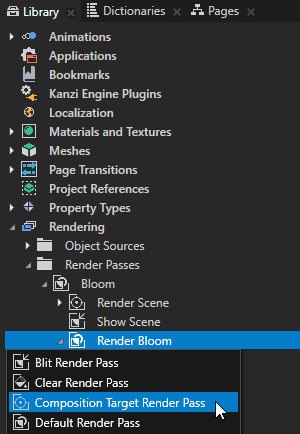
- In the Library > Rendering > Render Passes > Bloom create a Composition Target Render Pass and name it Render Scene.
You use this render pass to render the Scene node car to a composition target, which you later use as input for the render pass to pick only the headlights.


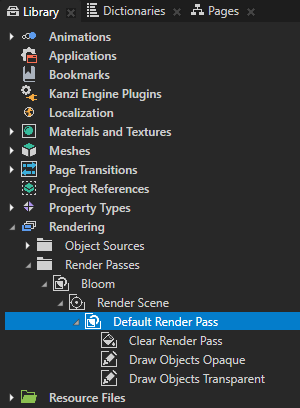
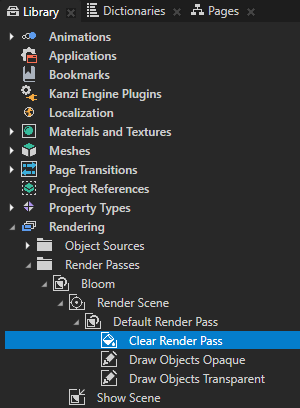
- In the Library > Rendering > Render Passes > Bloom > Render Scene create a Default Render Pass.
Kanzi Studio creates a set of render passes and filters that first render opaque and then transparent nodes.
You use the Default Render Pass to render the content of the Scene node car normally.


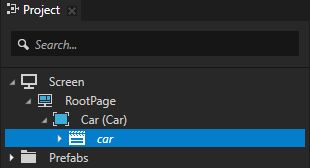
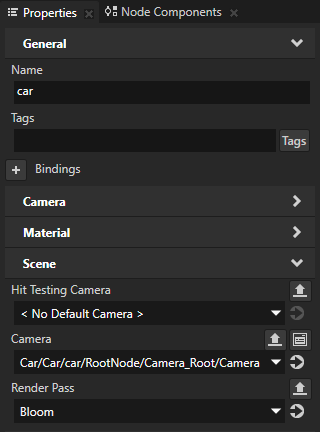
- In the Project select the RootPage > Car > car node and in the Properties set the Render Pass property to Bloom.
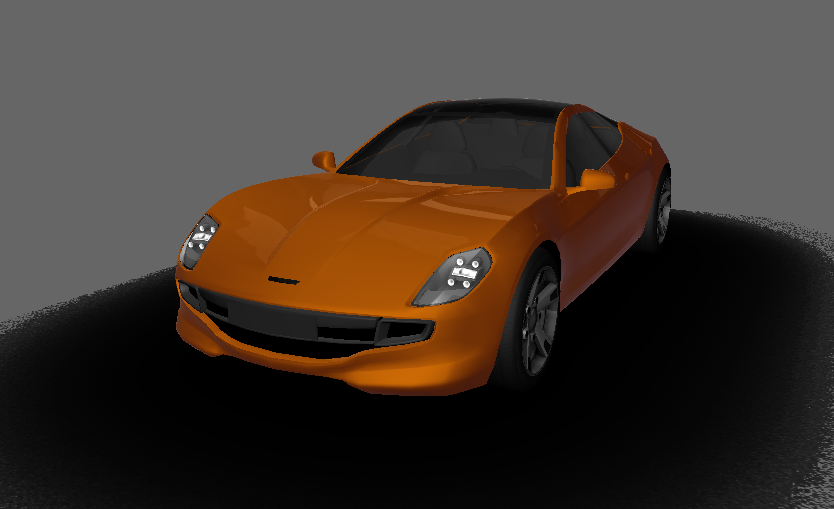
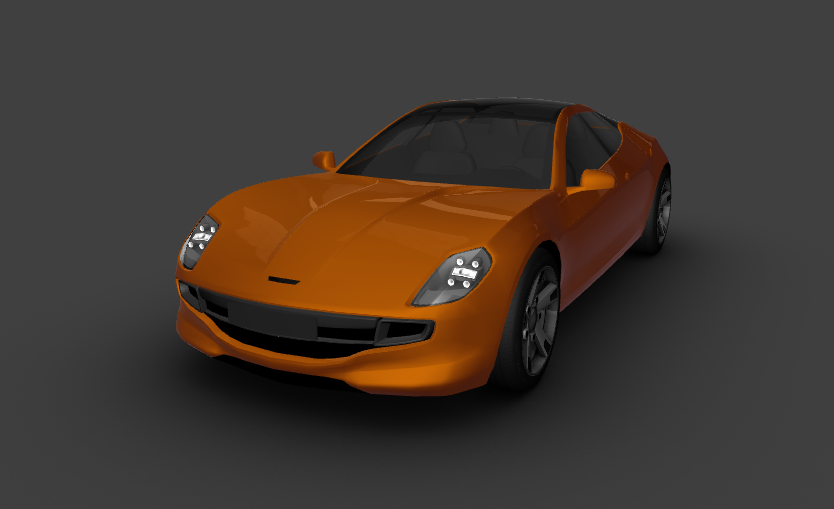
Kanzi Studio renders the Scene node car using the Bloom render pass. The Bloom render pass renders the car node to a composition target, which is why the Preview does not show any content.


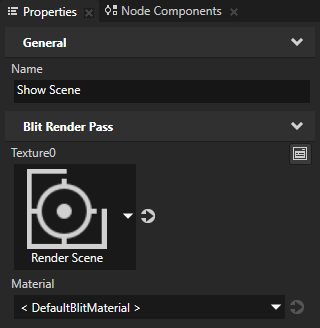
- In the Library > Rendering > Render Passes > Bloom create a Blit Render Pass, name it Show Scene, and in the Properties set the Texture0 property to Render Scene.
You use this render pass to draw on the screen the Render Scene render pass which renders the content of the Scene node car.


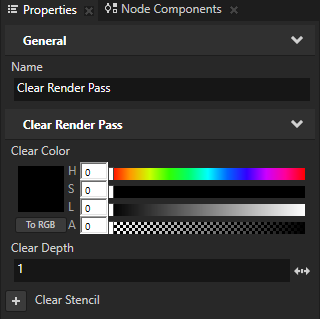
- In the Library > Rendering > Render Passes > Bloom > Render Scene > Default Render Pass select the Clear Render Pass, in the Properties add the Clear Color property, and set:
- Lightness (L) to 0
- Alpha (A) to 0
This way you clear the color buffer with transparent black color.


Render the headlights
In this section you create the render passes and material you need to render only the car headlights to which you later apply the bloom effect.
To render the headlights:
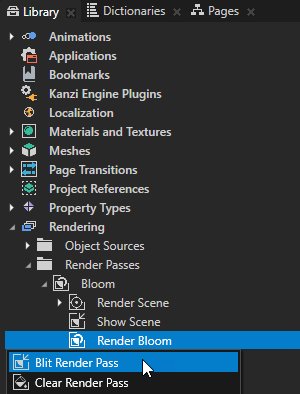
- In the Library > Rendering > Render Passes > Bloom create a Group Render Pass and name it Render Bloom.


- Create a material which supports rendering only the regions which are brighter than a specific threshold value:
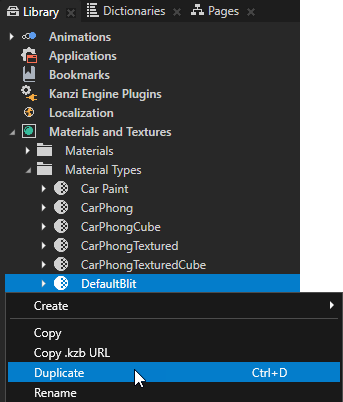
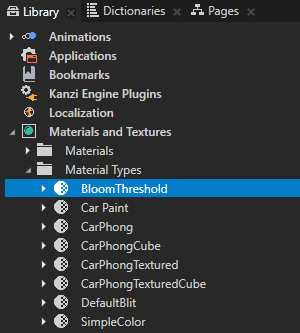
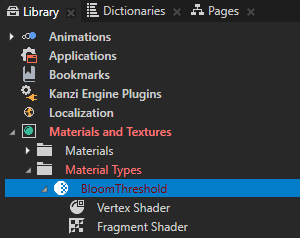
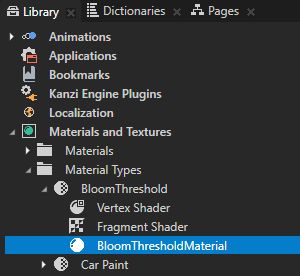
- In the Library > Materials and Textures > Material Types right-click the DefaultBlit material type, select Duplicate, press the F2 key, and rename the new material type to BloomThreshold.


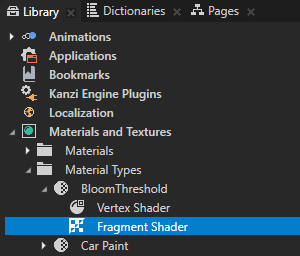
- In the Library > Materials and Textures > Material Types > BloomThreshold material type double-click the Fragment Shader to open it in the Shader Source Editor.

- In the Shader Source Editor replace the content of the fragment shader file with the shader code in this step and click Save.
This fragment shader:- Maps the color values less than or equal to a threshold value to 0.
- Maps the color values greater than a threshold value to a cubic equation approaching 1 when the color value approaches 1.
uniform sampler2D Texture0;
varying mediump vec2 vTexCoord;
// Defines the threshold value
uniform lowp float Threshold;

void main()
{
    precision lowp float;

    vec4 color = texture2D(Texture0, vTexCoord);

    float clipR = smoothstep(Threshold, 1.01, color.r);
    float clipG = smoothstep(Threshold, 1.01, color.g);
    float clipB = smoothstep(Threshold, 1.01, color.b);
    float clipA = smoothstep(Threshold, 1.01, color.a);
    vec4 clip = vec4(clipR, clipG, clipB, clipA);
    gl_FragColor.rgba = clip.rgba;
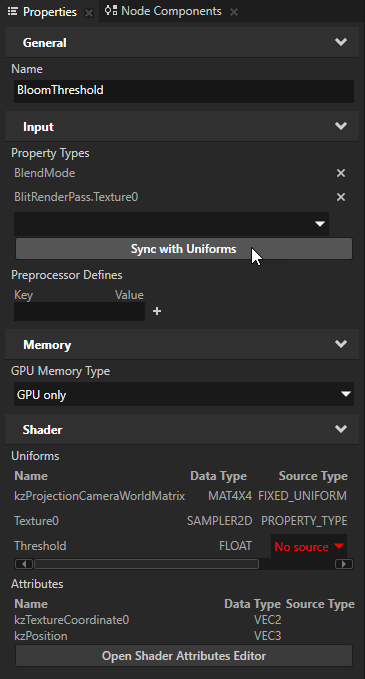
} - In the Library > Materials and Textures > Material Types select the BloomThreshold material type and in the Properties click Sync with Uniforms to create and add the Threshold property you defined in the shader to this material type and the materials that use it.


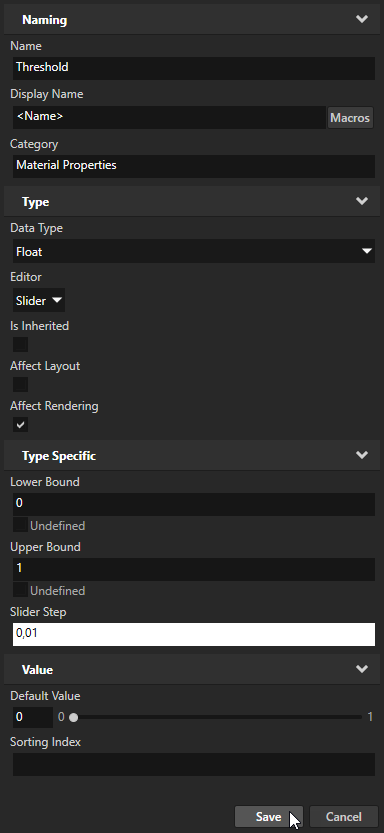
- In the Create Property Type dialog click Yes to create the custom property type Threshold, in the Property Type Editor window set the Slider Step property to 0,01, and click Save.
You use this property type to render the regions which are brighter than the value of this property.


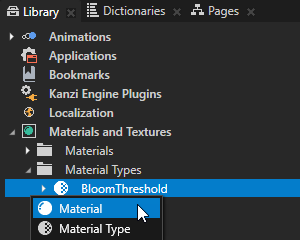
- In the Library > Materials and Textures > Material Types press Alt and right-click the BloomThreshold material type, select , and name the material BloomThresholdMaterial.


- Render only the headlights:
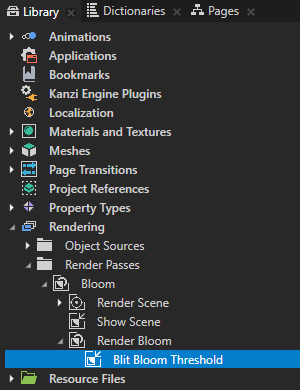
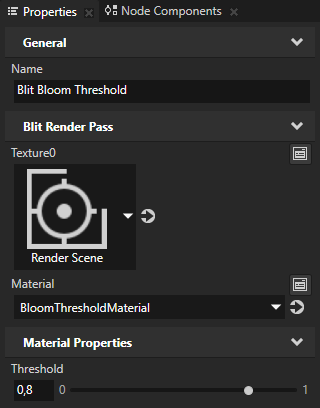
- In the Library > Rendering > Render Passes > Bloom > Render Bloom create a Blit Render Pass, name it Blit Bloom Threshold, and in the Properties add and set:
- Texture0 to Render Scene
- Material to BloomThresholdMaterial
- Threshold to 0,8
You use this render pass to draw to the screen only those regions of the car node that are brighter than the value of the Threshold property. Later you apply a Gaussian blur to these regions to create the bloom effect.


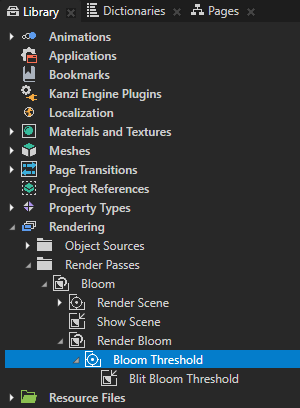
- In the Library > Rendering > Render Passes > Bloom > Render Bloom create a Composition Target Render Pass, name it Bloom Threshold, and drag the Blit Bloom Threshold render pass to the Bloom Threshold render pass.
You use the Bloom Threshold render pass to render the Blit Bloom Threshold render pass to a composition target which you later use as input to the render passes that apply the bloom effect.


< PREVIOUS STEP
NEXT STEP >
See also
To learn more about the render passes in Kanzi, see Rendering.
To learn more about shaders, see Shaders.

Open topic with navigation
